How to Manage & View Your Purchased Site Add-ons

Created by Kousik M, Modified on Thu, 21 May at 6:02 PM by Kousik M


Step 1 of 8
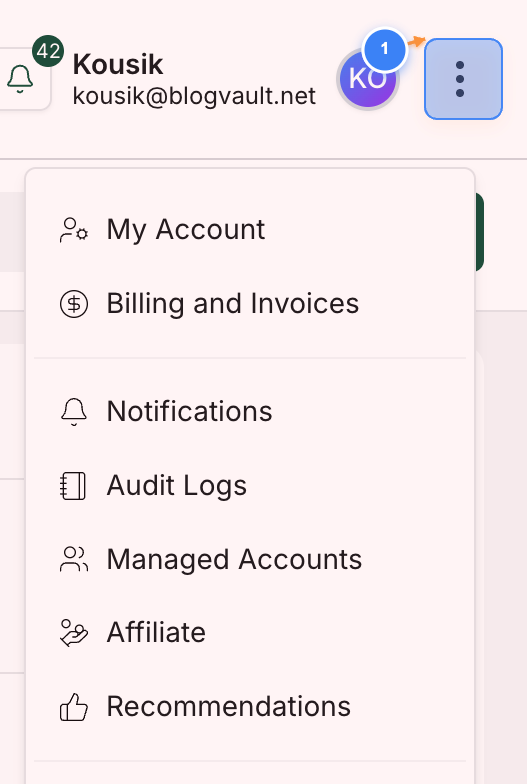
Open the Menu on the Dashboard
Click on the menu button in the dashboard area to open the Billing page of your Account


Step 2 of 8
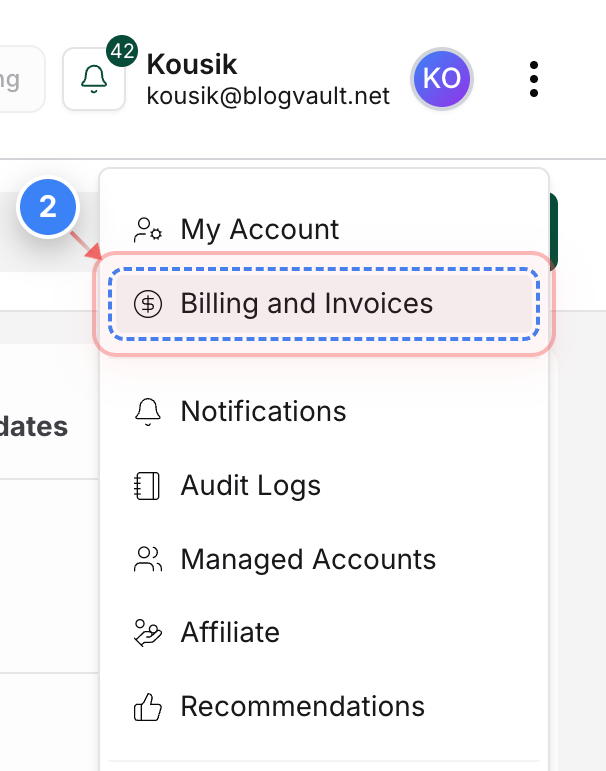
Open Billing and Invoices
Click the 'Billing and Invoices' option in the top navigation to access your billing information.
Note: This menu is located on the right side of the top bar.


Step 3 of 8
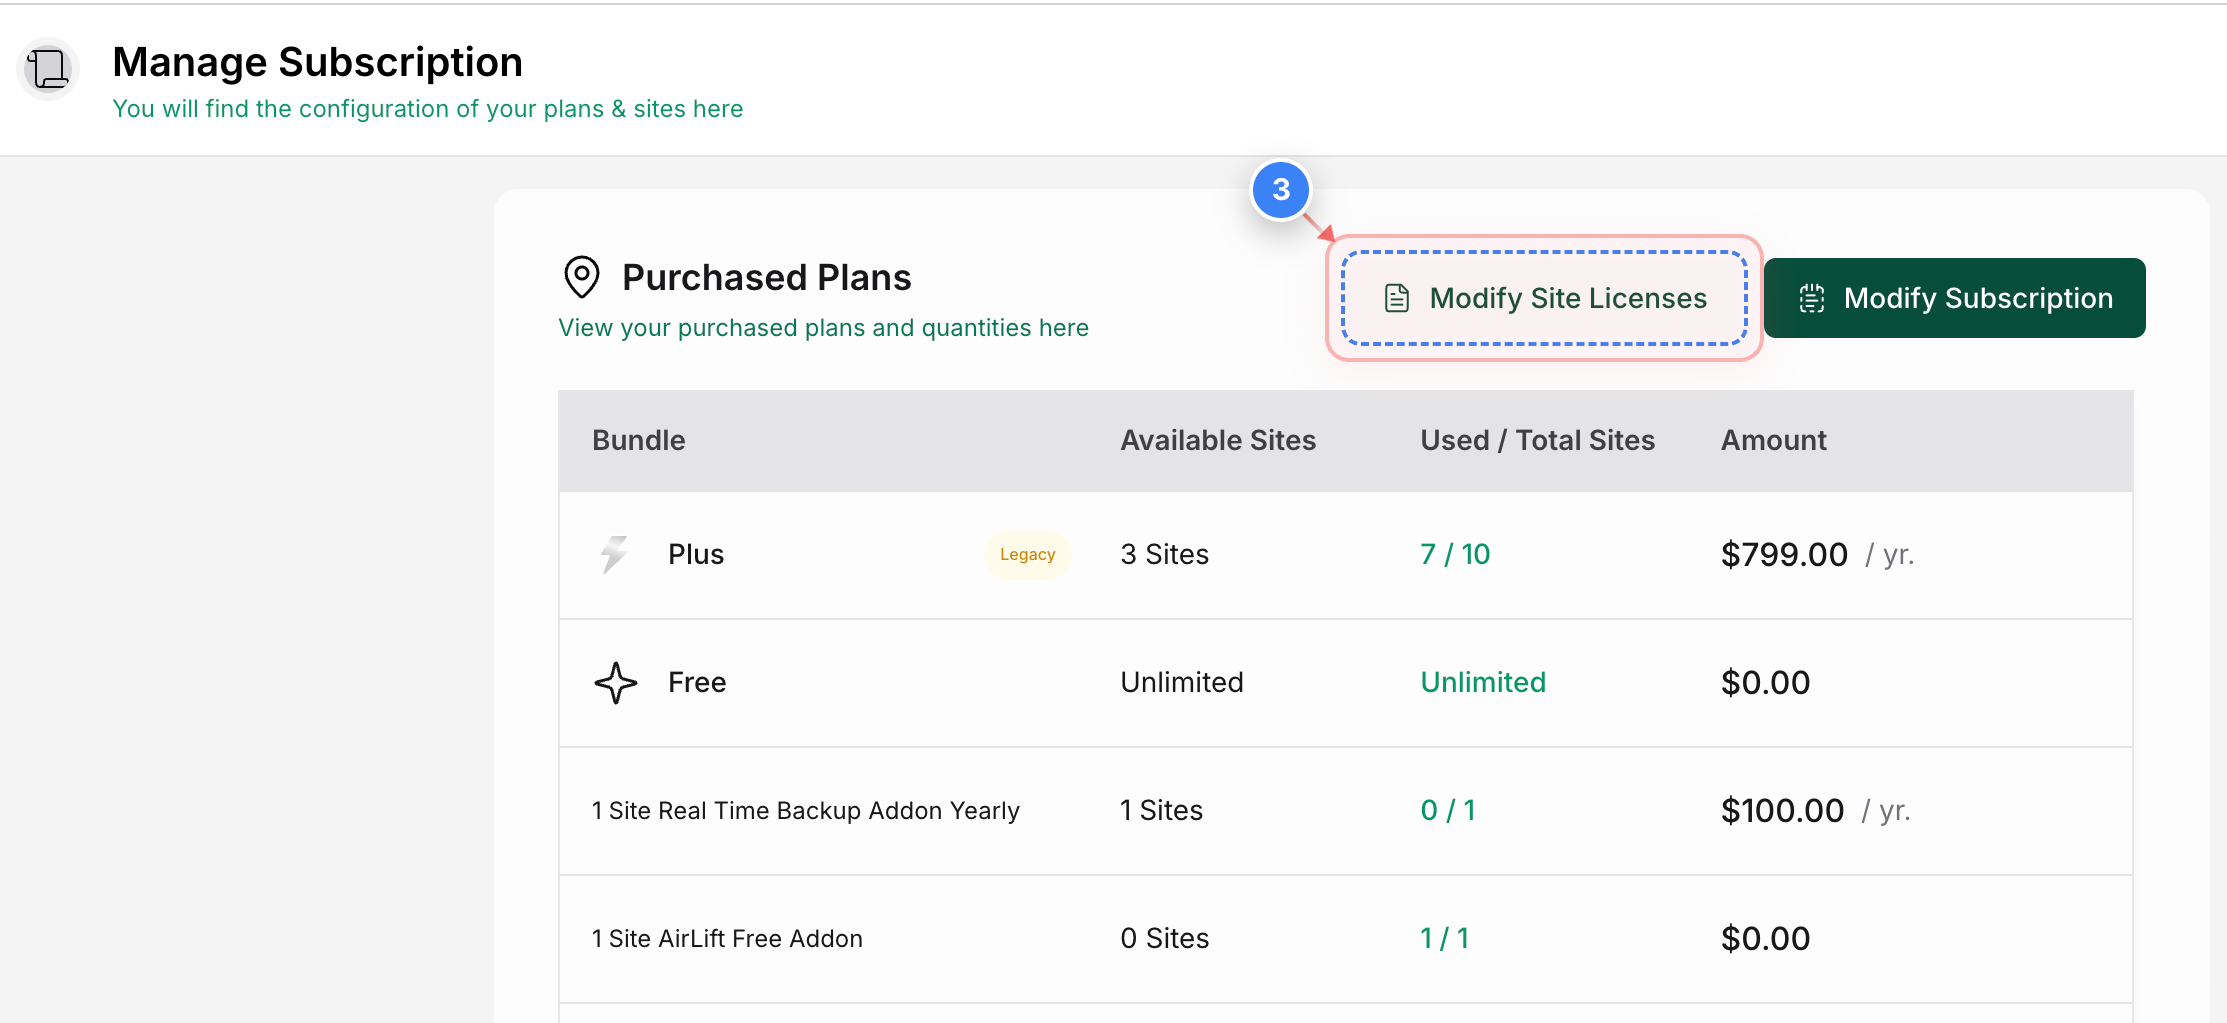
Open Site License Management
Click the "Modify Site Licenses" button in the Purchased Plans section to change your site plan configurations.
Note: The Purchased Plans area displays your active subscriptions and total available quantities.
Step 3 screenshot
Step 4 of 8
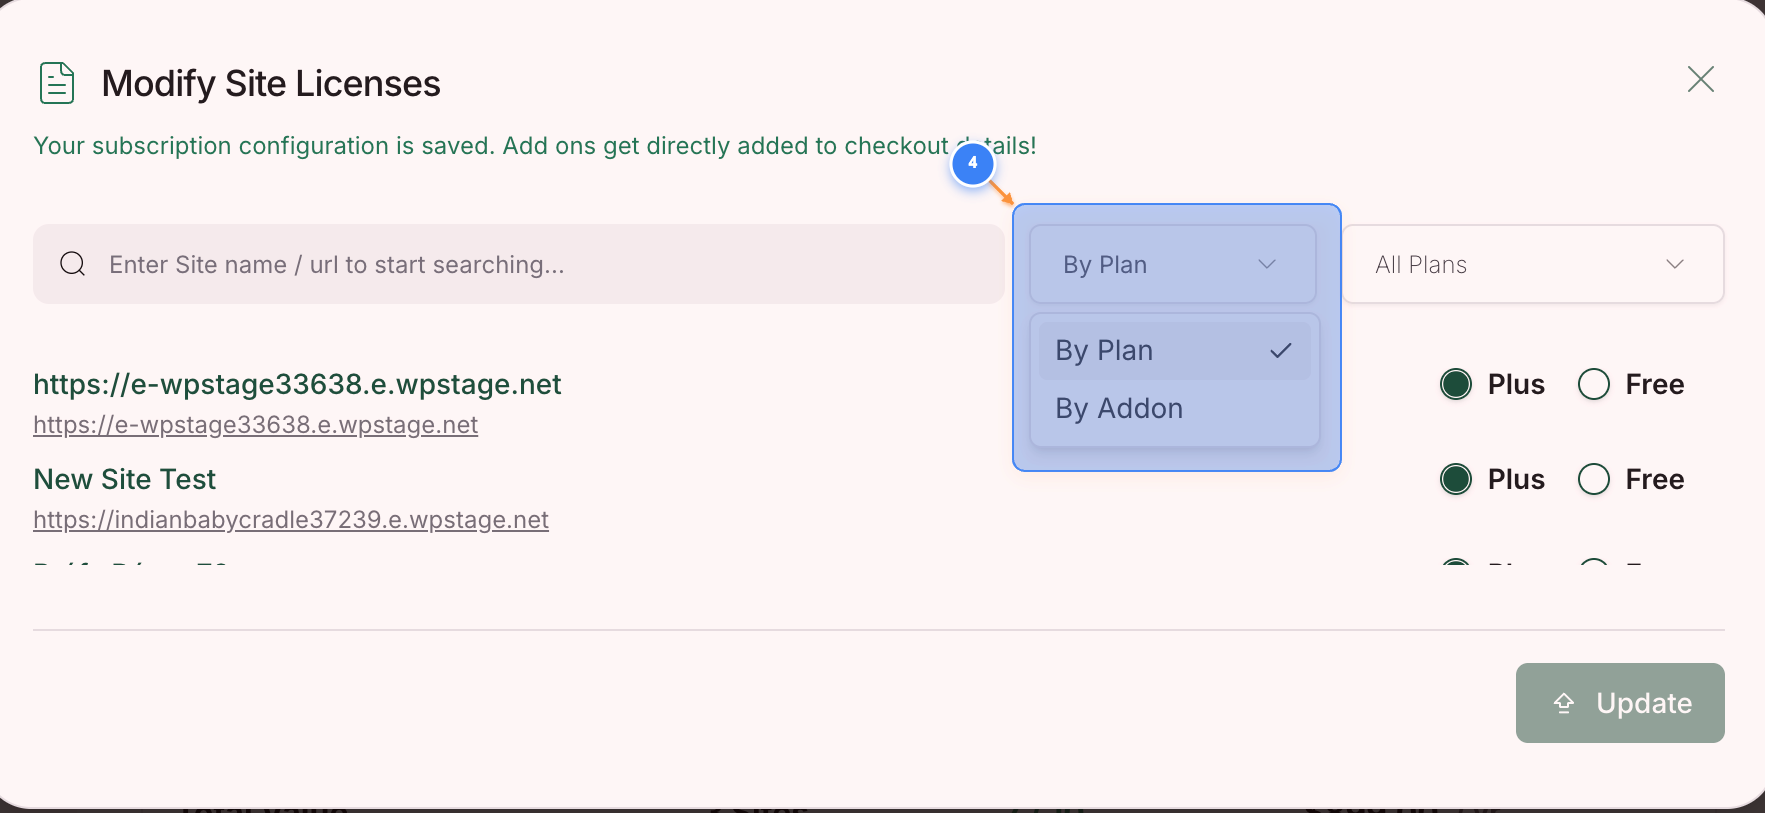
Change View by Addon
Click the dropdown menu & filter the listings by the "By Addon" option.


Step 4 screenshot
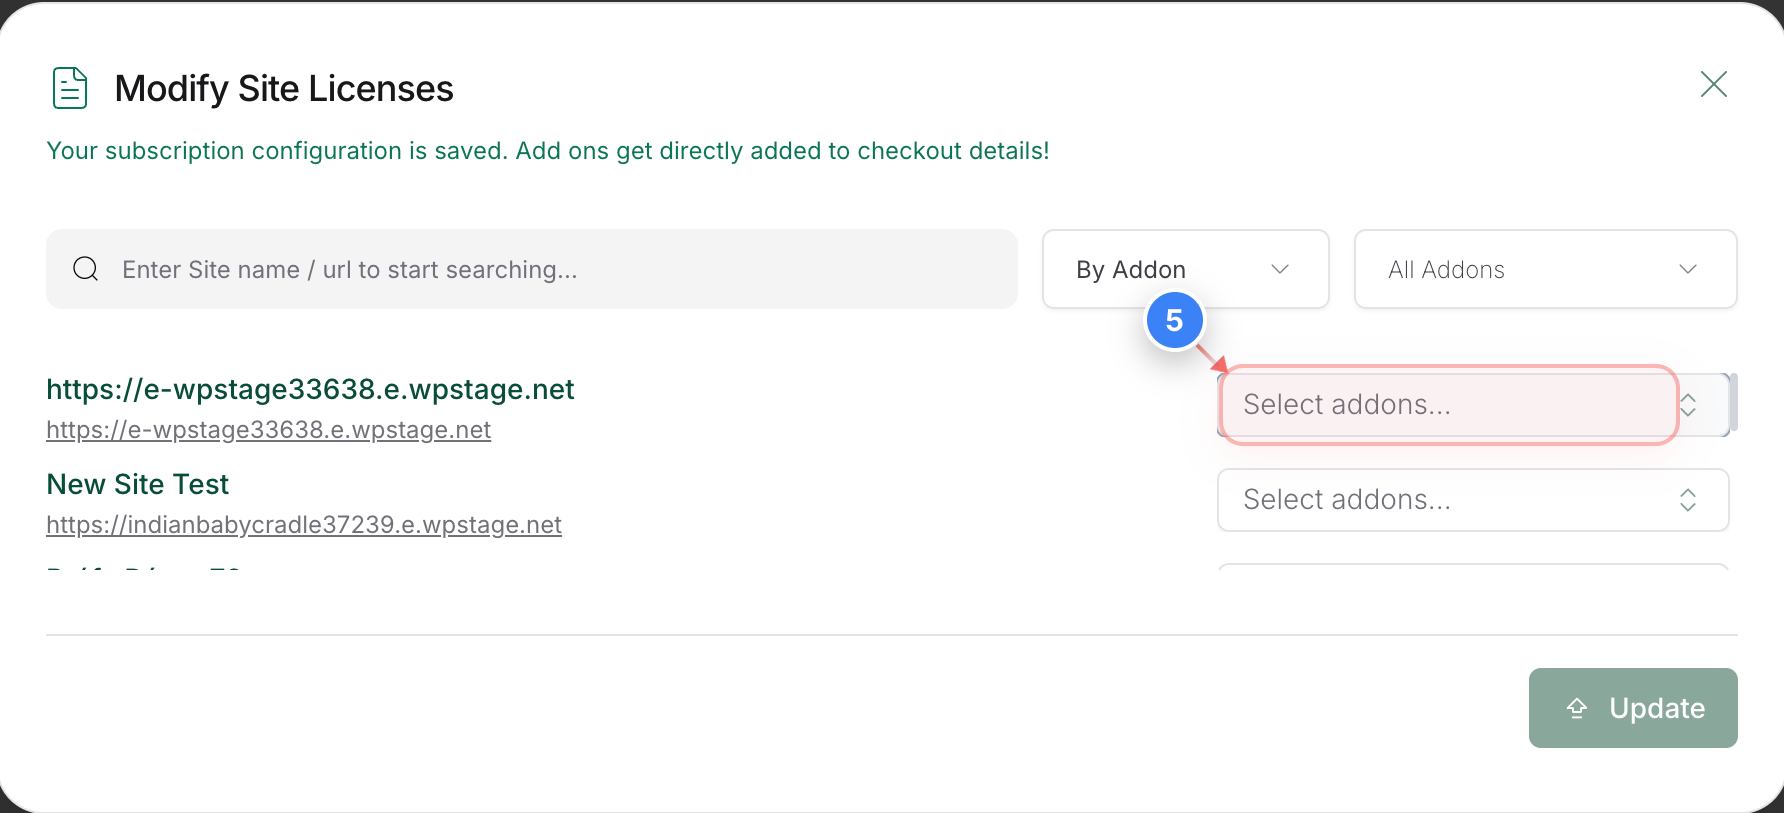
Step 5 of 8
Find the Site to Select the Addon
Find the site for which you want to select an Addon, then click the "Select addons" selection field in the license configuration area to view available upgrades.
Step 5 screenshot
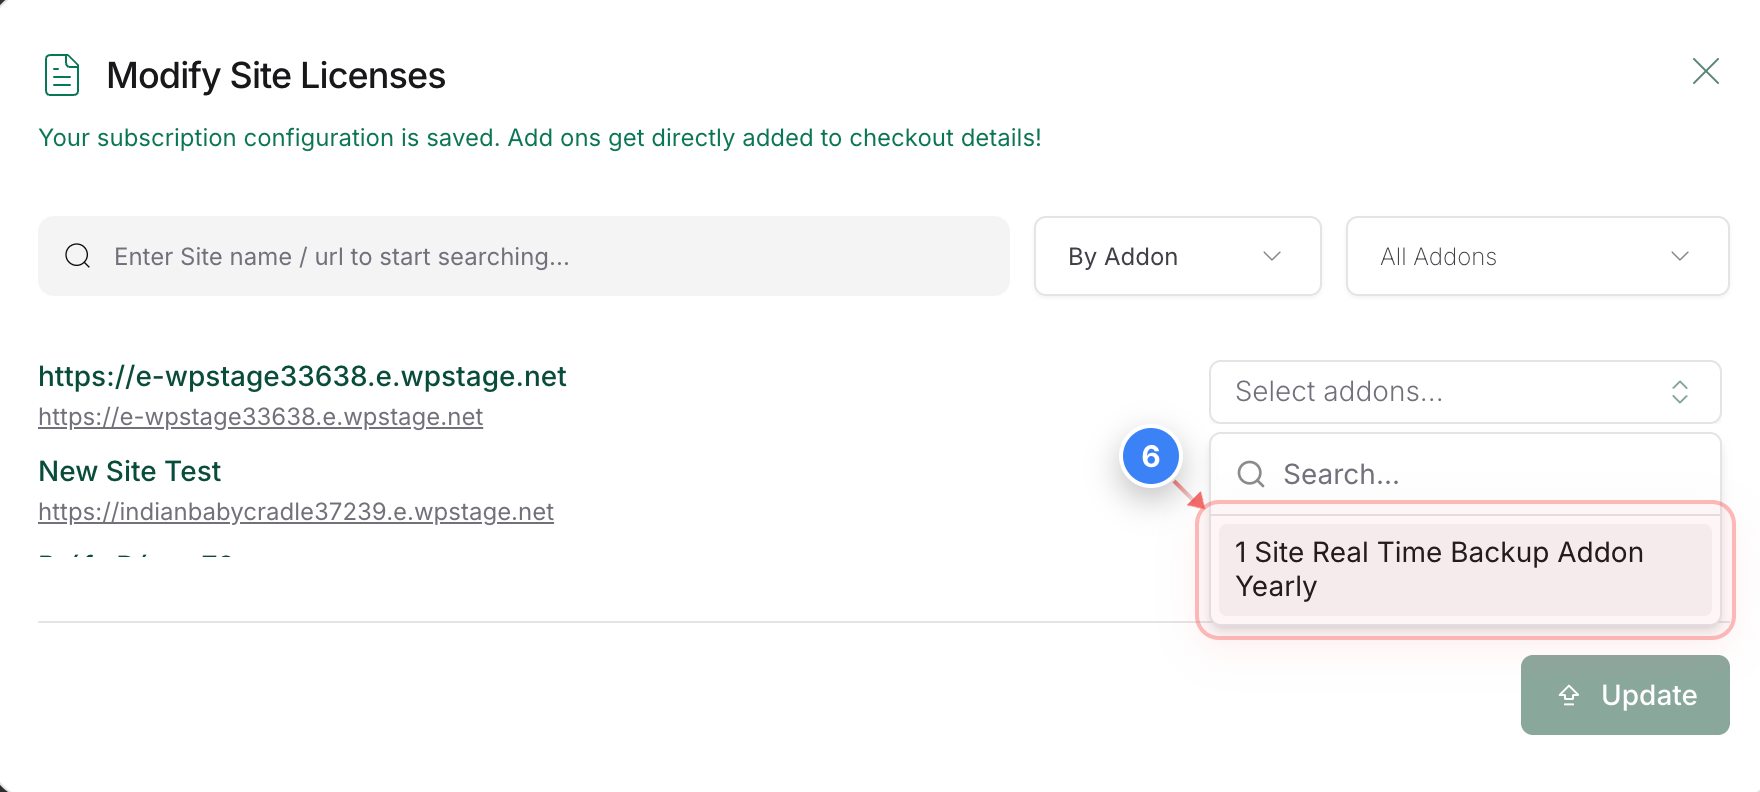
Step 6 of 8
Select Addon
Select the available(purchased) addon option from the dropdown list to assign it to your website.
Step 6 screenshot
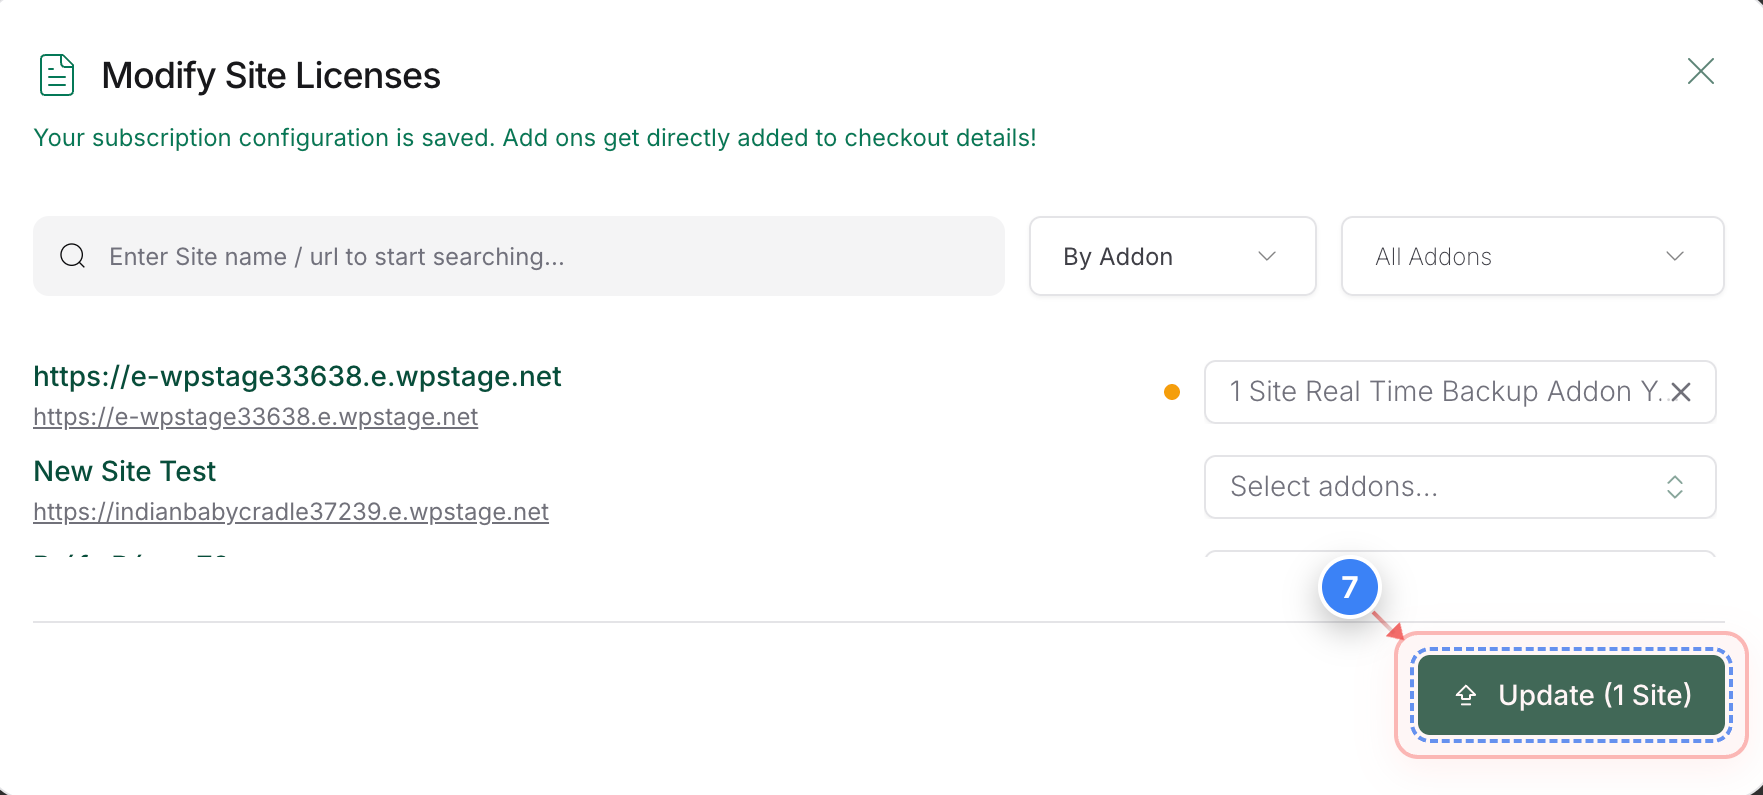
Step 7 of 8
Apply Plan Changes
Click the Update button at the bottom of the configuration panel to apply your new add-on settings.
Step 7 screenshot
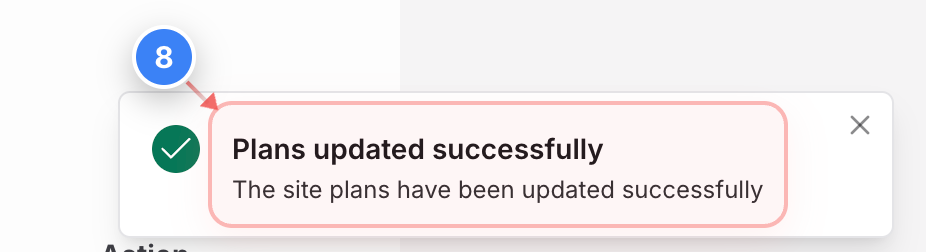
Step 8 of 8
Confirm Successful Update
Verify that the Plans updated successfully alert appears in the bottom-right corner, confirming site-level plan changes are active.
Step 8 screenshot


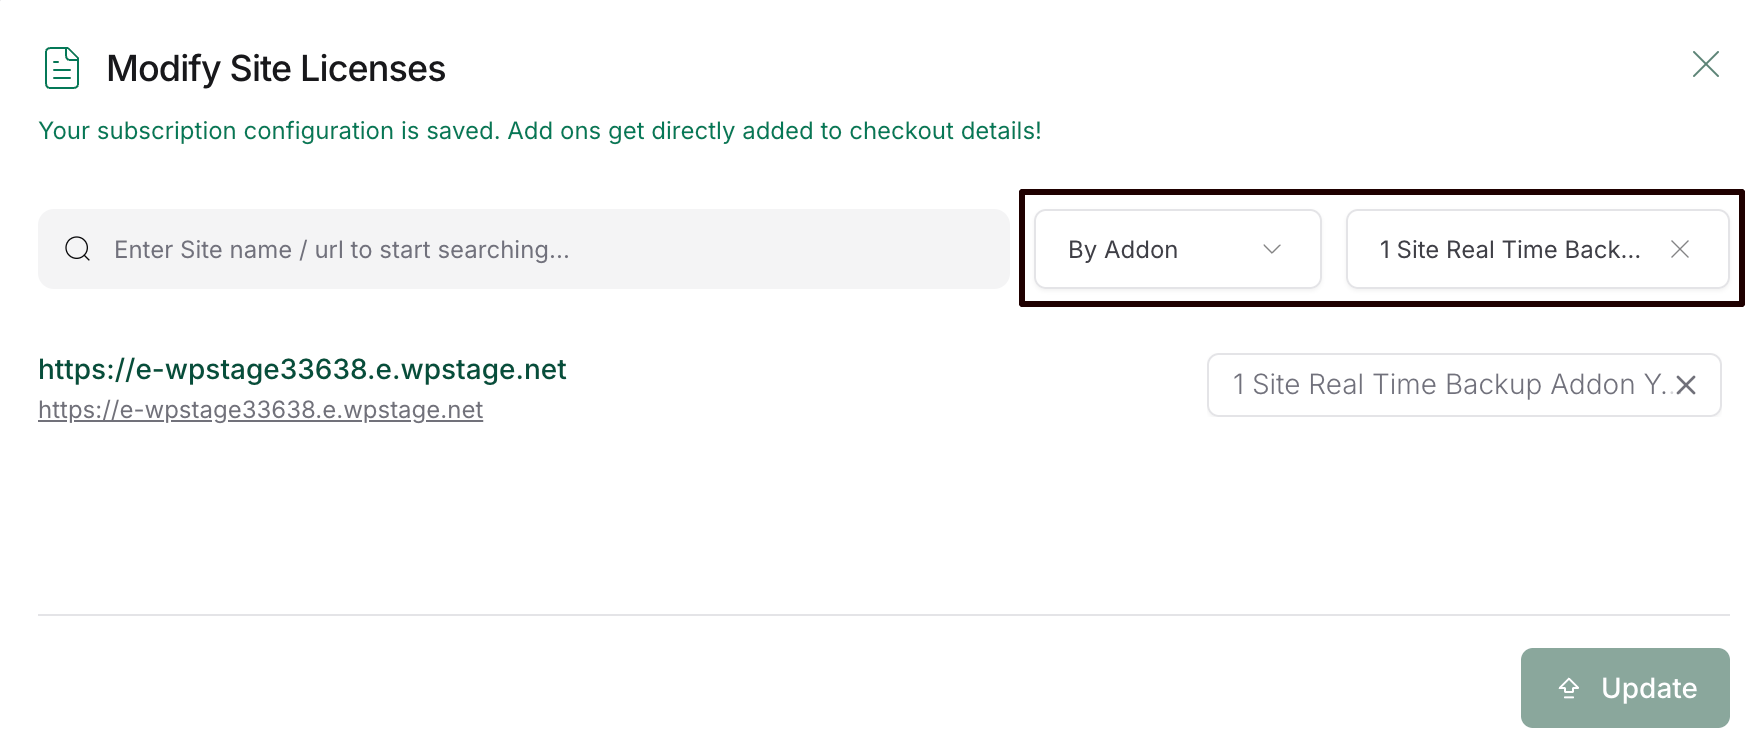
Additional: You can also use the filter to view the sites where you have the addons applied

Was this article helpful?

That’s Great!

Thank you for your feedback

Sorry! We couldn't be helpful

Thank you for your feedback

Let us know how can we improve this article!

Select at least one of the reasons

Feedback sent

We appreciate your effort and will try to fix the article